Hand-and-Arm Signals for Silent Team Movement: Command Sets, Lost-Contact Procedures, and Night Variations
Why silent movement fails without a signal plan
Noise discipline is only half the problem
Most people think “silent movement” just means you stop talking. In real terrain, silence is about staying coordinated without creating a verbal signature that travels farther than you think. Wind can carry a shout across a drainage.
Related Articles:
A normal speaking voice can also bounce off rock or timber and sound like it came from somewhere else. That can spook animals, draw attention from other people, or simply make your team’s position obvious.
The other half of the problem is control. If your team cannot change direction, halt, compress spacing, or respond to a hazard without talking, you end up with a group that moves like a loose crowd.
Crowds drift. Crowds split. Crowds walk into avoidable mistakes because nobody wants to be the one to “break silence.” A simple hand-and-arm signal plan gives you control without radios and keeps people from improvising meanings under stress.
Radios and phones are not your primary plan
Even with good radios, you cannot assume clear comms. Batteries die. Microphones snag. Channels get stepped on.
Terrain can also block line-of-sight, especially in gullies, timber, and rolling ground. In cold weather, performance drops and people get clumsy with push-to-talk.
If you are training for backcountry movement, hunting, or any scenario where you might need to move quietly around other people or animals, hand signals are a baseline skill. It is the same reason you still carry a map when you have GPS.
If you want a strong mental model for “systems that work when visibility fails,” the logic overlaps with pace count and dead reckoning. You are building reliability into your process, not betting everything on one fragile tool.
The goal: shared meaning, fast execution
A good signal set is not a long list. It is a compact language that covers the decisions you actually make while moving.
The best sets are also redundant. If one person misses a signal, the team still behaves predictably instead of fragmenting.
You are aiming for three outcomes:
- Everyone knows what the signal means without guessing.
- Everyone knows what to do next, not just what the leader saw.
- Everyone knows what to do when they do not know (lost contact).
That last point is where most teams break. You do not need perfect signaling. You need a plan for imperfect signaling.
Quick reference: the “no-excuses” standard If a signal is not understood instantly, it does not belong in your primary set. Save complex meaning for a briefed plan or radio.
Building a shared command set the team can remember
Standardize first, customize second
Do not invent your own signals from scratch unless you have a strong reason. Many outdoor teams borrow from military practice because the gestures are designed to be visible at distance and unambiguous under stress.
That said, your team’s standard should match your environment. A gloved winter team needs bigger motions than a summer day hike. A team moving through brush may need higher hand positions to be seen.
The key is consistency. If two people have different meanings for “rally” or “halt,” your team will eventually split.
Define who is allowed to signal
One common failure is “everyone signals.” In the field, multiple people trying to “help” can create conflicting directions.
Your system should define a primary signaler (usually the team leader or point) and a backup. Keep it simple so nobody has to debate authority while moving.
A solid rule set looks like this:
- Point/leader issues movement signals (direction, speed, halt).
- Anyone can signal immediate danger (freeze, take cover, person/animal seen).
- Tail/end person confirms compliance when needed (hand up acknowledgment).
This keeps control centralized while still allowing safety-critical information to move fast.
Rehearsal: do it standing, then do it moving
Signals are muscle memory, not trivia. Rehearsal should happen in two steps.
First, stand in a rough formation and run a short “call and response.” The leader signals, and the team repeats the signal back. This is how you catch confusion early.
Second, rehearse while walking. People can execute a signal perfectly while stationary and still fail once they are stepping over roots, managing poles, or watching their footing.
If your team uses trekking poles, rehearse with them in hand. The mechanics matter, especially on steep ground where balance is a safety issue.
Core hand-and-arm signals for silent team movement
Halt, freeze, and attention signals (do not blend these)
Many teams accidentally collapse three different concepts into one gesture. That creates slow reactions when you need speed.
Keep these separate and unmistakable:
- Halt (planned stop): Arm raised overhead, palm open. This says, “stop where you are,” but stay relaxed.
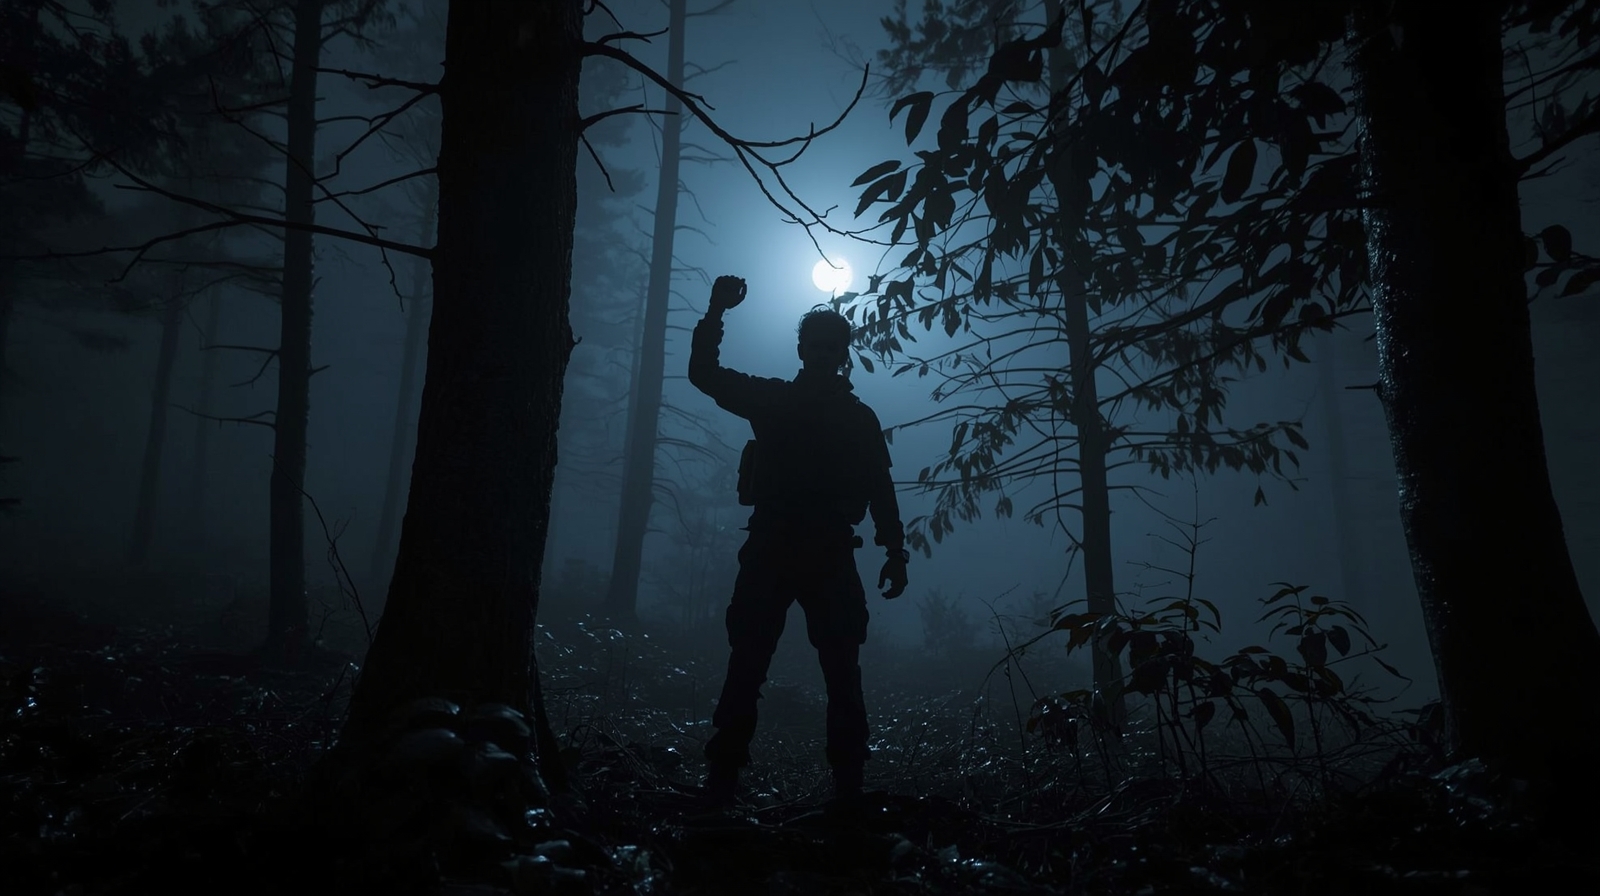
- Freeze (immediate danger): Fist raised overhead (or both arms locked out, depending on your standard). This says, “stop now, minimize movement.”
- Attention/Look: Hand cupped behind ear, or two fingers to eyes then toward the object. This says, “observe,” not “stop.”
You want these to feel different. Halt is common. Freeze is rare but urgent.
If your team treats every halt like a freeze, you will burn mental energy and people will start ignoring signals.
Direction, movement, and speed control
Direction changes are where teams start to accordion or drift off line. Make direction signals large and hold them long enough to propagate through the formation.
Use a tight, repeatable set:
- Move out/Follow me: Arm extended forward, palm down, making a pumping motion.
- Change direction (left/right): Arm extended fully to the side, pointing decisively. Avoid “lazy elbow pointing.”
- Slow: Arm extended, palm down, moving up and down slowly.
- Fast: Arm extended, palm up, moving up and down quickly.
If you are moving in a file, the leader signals, the next person repeats, and so on. That propagation is not optional. It is how the signal reaches the tail.
Formation changes you will actually use
You do not need a dozen formations. You need a few that solve real problems.
- File (single line): Arm raised overhead with index finger up.
- Ranger file / staggered file: Two fingers up, then motion alternating left-right.
- Wedge / spread out: Both arms extended out to the sides, slowly pushing outward.
For most civilian backcountry teams, “file” and “spread out” cover 90 percent of needs. The wedge concept matters most when you are scanning a wider front, moving through open ground, or reducing the chance one hazard takes out multiple people.
With those baseline signals in place, the next step is using them to control spacing and manage terrain problems without constant verbal correction.
Spacing, terrain management, and danger-area signaling
Interval and compression signals (prevent the accordion)
Spacing is safety. It reduces rockfall risk, lowers the chance of multiple injuries, and makes navigation decisions easier because the team is not stacked on top of the leader.
Use two simple signals and make them big:
- Extend interval: Arms out to the sides, palms out, pushing motion (as if pushing people away).
- Close up/compress: Arms bent, palms toward your chest, pulling motion.
On loose ground, spacing is not just comfort. A kicked rock can become a projectile.
If you want a strong breakdown of spacing discipline in unstable terrain, tie your movement rules to the same logic used for traveling safely on scree, talus, and rockfall terrain.
Crossing linear danger areas (roads, trails, creek beds)
In military terms, a “danger area” is any place where you are exposed, canalized, or easy to predict. In the backcountry, this includes places where your movement becomes obvious or your options shrink.
Common examples:
- Open avalanche paths
- Creek beds that force you into a line
- Trails near popular areas
- Narrow saddles or bridges
A simple signal set for danger areas:
- Danger area: Hand chops downward repeatedly (a “cut it” motion), then point to the area.
- Rally point / hasty rally: Circle overhead with one arm, then point to the rally location.
- Cross/Move: Point to the first mover, then point across.
You are not trying to “play infantry.” You are trying to get everyone thinking the same way about exposure, accountability, and where to regroup if something goes wrong.
Terrain-driven micro-movements
Sometimes the correct move is not a formation change. It is a micro-behavior that keeps the team stable.
Example: a steep sidehill with rotten footing where you want “one at a time” movement.
A clean gesture works:
- One at a time: Index finger up, point to one person, then a flat “wait” palm to the rest.
This is especially useful when you are moving above a drop, crossing a log, or stepping through a boulder field where one slip could cascade into the next person.
Once you can move quietly and manage terrain, you still need a plan for what happens when you see something or need to halt for security.
Security and contact signals (without turning into chaos)
“I see something” versus “we are in trouble”
The most common overreaction in a team is treating every observation like a crisis. Your signals should separate “observe” from “act now.”
Use three clear categories:
- Look/Observe: Two fingers to eyes, then point.
- Person/Animal seen: Point, then tap the top of your head (person), or use a pre-briefed animal signal.
- Take cover: Arm sweeping downward toward the ground.
If you are hunting, species-specific signals are useful only if the team can truly remember them. Otherwise, one signal for “game,” plus direction and distance, is usually better than a half-remembered library of gestures.
Hasty security halt and 360 setup
When you stop for a map check or a break, you want a predictable security posture. Even in non-tactical contexts, it prevents people from wandering off and losing track of each other.
A practical signal:
- Set security/360: Circle overhead with one arm, then point to positions (left, right, rear).
This does not mean you are preparing for a firefight. It means you are controlling where people stand, where they look, and how you maintain accountability.
If you camp or pause at night, this flows directly into procedures like challenge/password and movement control. Keep your framework aligned with night camp control procedures.
Rally and emergency regroup signals
Rally signals are your safety net. If a team splits or something goes wrong, a rally point is where you reassemble.
- Rally: Arm making a big circle overhead.
- Come to me: Arm extended overhead, making a repeated “wave in” motion.
Rally points should be obvious terrain features when possible: a trail junction, a distinct boulder, or the near side of a creek crossing.
If you cannot identify an obvious feature, build a time-and-distance rally plan (covered later). That still gives you predictable regroup behavior.
Lost-contact procedures that prevent a small problem from becoming a search
The “last point of contact” mindset
People get lost because they keep moving while uncertain. Your lost-contact procedure should force a stop early, while separation distance is still manageable.
A reliable baseline looks like this:
- Stop immediately when you lose visual contact with the person you are following.
- Listen (movement, voice if permitted, natural cues).
- Look back along the last known line of travel.
- Signal (pre-briefed silent signal, then optional low voice if allowed).
If you keep walking “just to catch up,” you usually widen the gap and create multiple possible trails.
Immediate action drill: stop, mark, and wait
Here is a simple lost-contact drill you can teach to any team. It assumes you are moving in a file or staggered file.
Lost Contact Drill (individual):
- Halt and take a knee (or stable stance).
- Mark your spot mentally (distinct tree, rock, bend in trail).
- Wait for 60 seconds while scanning.
- If no contact, use a pre-briefed signal: one soft whistle, or a quiet verbal call if permitted.
- If still no contact, move back on your track for a short, fixed distance (example: 30 meters), then stop again.
That “short, fixed distance” matters. It prevents you from becoming lost while searching.
If you are in a group where only the leader is allowed to initiate movement signals, make sure the lost-contact drill is the exception. In other words: anyone can stop when they lose contact, because that is how you prevent one separation from turning into multiple.