
Survival Signaling Techniques: How to Get Rescued in the Wilderness
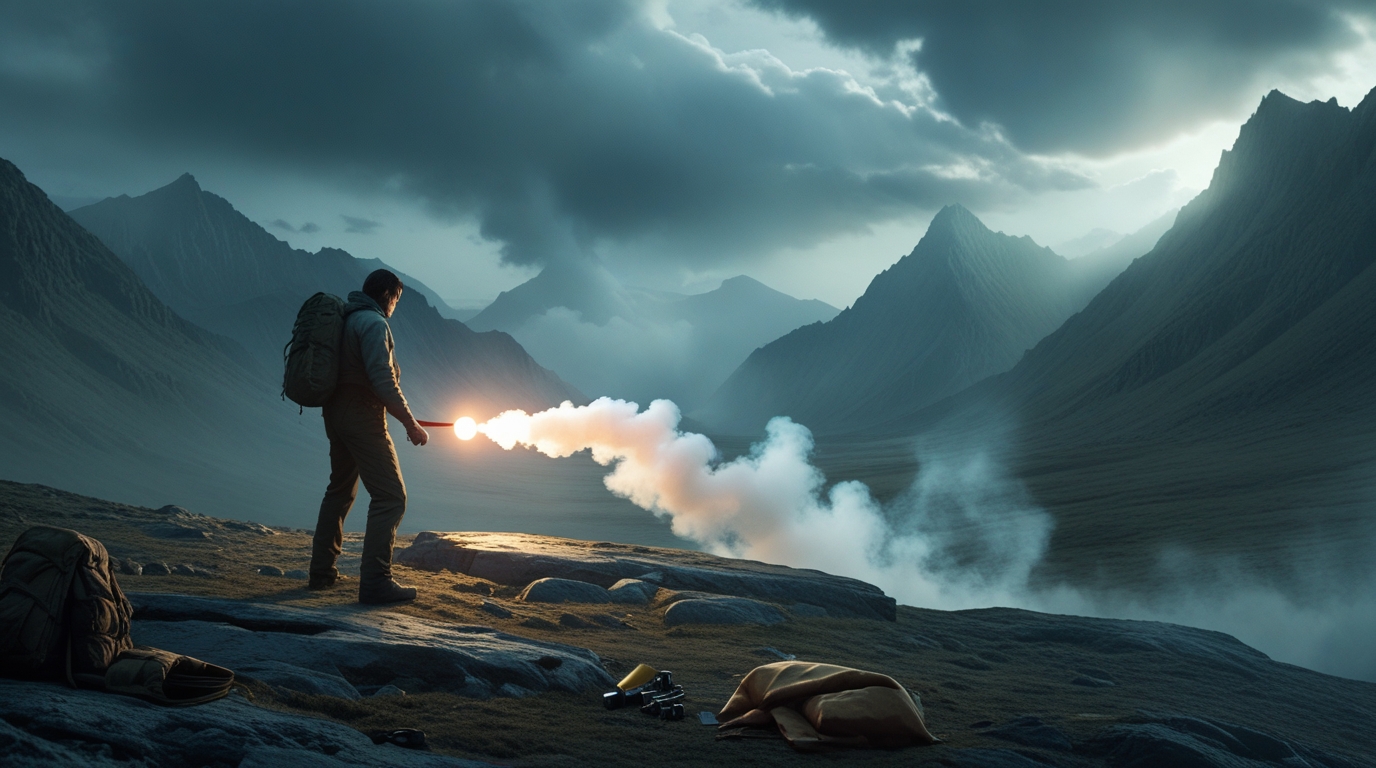
If you are lost or injured, stop at a safe location, contact 911 or activate the appropriate SOS device promptly, and follow responder instructions. Do not climb hazardous high ground or leave a known location just to improve a signal. No signaling method guarantees detection or an immediate rescue.
Essential Survival Signaling Tools
Visual Signaling Devices
Visual signals are your first line of defense when it comes to being spotted by rescuers. Items like bright-colored clothing, mirrors, and smoke signals can be seen from great distances. A signaling mirror, for instance, can catch the sunlight and create a flash visible for miles. It’s crucial to understand that the effectiveness of these tools depends greatly on weather conditions and the time of day.
Related Articles:
- Overcast skies can diminish the visibility of smoke signals.
- Mirrors are most effective in direct sunlight.
Audible Signaling Devices
Having a way to create noise can drastically increase your chances of being noticed. Consider these tools:
- Whistles: repeated groups of three blasts are commonly used for distress in the US backcountry. Pause to listen, but do not assume everyone recognizes a universal code.
- Metal Objects: Banging metal objects together can attract attention.
- Flashlights or strobes: use these as visual signals after dark. Flares are not a general-purpose audible signaling tool.
Improvised Signaling Methods
In situations where conventional tools are not available, improvisation is key. Here are some effective methods:
- SOS in the Sand: Writing an SOS in the sand or arranging rocks to spell out a distress signal can be effective.
- Brightly Colored Fabrics: Tying brightly colored fabric or materials to tree branches or laying them out in open spaces creates noticeable patterns.
Preparing for Emergencies
Planning Ahead
The best survival strategy is always to prepare for the possibility of getting lost. This involves:
- Informing someone of your travel plans, including routes and expected return times.
- Packing a basic survival kit with signaling devices, water, food, and shelter materials.
Learning and Practice
Familiarizing yourself with survival signaling techniques before you venture out is crucial. Practice regularly with your signaling devices. Participating in survival training courses or workshops can also provide valuable hands-on experience.
Staying Visible
In any rescue scenario, visibility is key. Here are some tips:
- Choose signaling locations wisely, such as open areas on high ground.
- If using sound to signal for help, ensure the noise can travel without obstacles.
The Psychology of Survival
Keeping Calm
One of the biggest challenges in a survival situation is maintaining a clear head. Techniques such as deep breathing, setting small achievable goals, and staying organized can help manage fear and anxiety.
Staying Hopeful
Maintaining hope and a positive outlook is crucial for survival. Believing that you will be rescued can motivate you to continue signaling and taking care of yourself.
Conserving Energy
Balancing the effort you put into creating signals with maintaining your physical well-being is important. Stay hydrated, eat when you can, and rest.
Maximizing the Effectiveness of Visual Signals
Choosing the Right Location
Choose a safe nearby open area when available. Do not climb cliffs, enter avalanche terrain, expose yourself to lightning, or leave an established rescue location for a wider view.
Creating Large and Noticeable Signals
When it comes to visual signals, bigger is always better. Ensure signals are large enough to be seen from the air. For example, letters spelled out with rocks or logs should be at least 10 feet tall. Utilize contrasting colors if possible.
Timing Your Signals
The effectiveness of visual signals can vary depending on the time of day and weather conditions. Mirrors or reflective devices work best in direct sunlight. For smoke signals, early morning or late afternoon can help smoke rise more vertically.
Utilizing Technology in Emergency Signaling
Satellite Communication Devices
Satellite phones, GPS trackers, and personal locator beacons (PLBs) can be lifesavers in the wilderness. Familiarize yourself with the operation of these devices before your trip.
Smartphone Apps and Emergency Services
Your smartphone can be a powerful survival tool. Download and set up necessary apps before heading out, and ensure your phone is fully charged.
Solar Chargers and Power Banks
Solar chargers and power banks can extend the life of your devices. Select a solar charger with a high wattage output and a power bank with enough capacity to recharge your devices multiple times.
Crafting Effective Audible Signals
Improvised Noise Makers
If you find yourself without a whistle or other noise-making device, it’s time to get creative. Metal objects, like pots or pans, can be used to create a loud, echoing sound.
Using Nature to Amplify Sound
Your surrounding environment can significantly impact how well your audible signals are received. Open areas carry sound further than dense forests.
Conserving Your Voice
Use voice signals sparingly to avoid straining your voice. Focus on using tools or improvised methods to create sound.
Advanced Signaling Strategies in Varied Environments
Signaling in Dense Forests
In dense forest, use a whistle and bright markers in an existing safe opening. Do not cut a clearing or start a risky fire for visibility.
Signaling in Snowy Terrains
Snowy environments offer a unique advantage for visual signals due to the high contrast against the white background. Create large symbols in the snow using branches or dark materials.
Signaling in Desert Conditions
In deserts, use the terrain to your advantage by creating large ground symbols visible from the air. Mirrors and reflective devices work exceptionally well in the bright sunlight.
Expert Tips for Sustained Signaling Efforts
Consistency is Key
Maintain your signals regularly to increase the chances of rescue. Set up a schedule for signaling efforts.
Creating a Signaling Plan
Develop a signaling plan based on your environment and the tools at your disposal. Prioritize your signaling methods based on what is most likely to be effective.
Leveraging Technology Wisely
Conserve ordinary battery use before an emergency. Keep an activated PLB running and remain available for phone or messenger replies according to rescuer and manufacturer instructions.
The Importance of Adaptability
Survival and signaling in the wilderness require adaptability. Be prepared to adjust your strategies based on the environment and available resources.
Prioritizing Self-Care
Taking care of your physical and mental well-being is crucial. Ensure you’re staying hydrated, consuming calories when possible, and resting adequately.
Next Steps for Preparedness
Invest in quality survival gear, including reliable signaling devices. Educate yourself further on survival techniques, possibly through courses or training. Always inform someone of your plans before heading out into the wilderness.
Choosing Signaling Equipment
Choose a usable whistle, bright marker, and light with a practical power supply. For a mirror, prioritize a clear aiming aid and practice. Check current specifications rather than relying on a historical price table. Flares are not a default hiking tool; they have fire, handling, and transport restrictions.
Keep a Distress Alert Active
A 406 MHz PLB is a dedicated distress beacon, not a routine two-way messenger. Register a US-coded beacon with NOAA, keep details current, and follow the maker’s deployment and testing instructions. After activation for a real emergency, leave it on until rescuers direct otherwise. Do not cycle it off to save power. Satellite messengers have different coverage, service-plan, and messaging requirements; know your exact device before departure. See NOAA beacon guidance and distress-beacon activation guidance.